
Teamwear
Custom Teamwear: An Ordering Checklist for Peace Country Teams
By Sportswear Plus team · · 3 min read
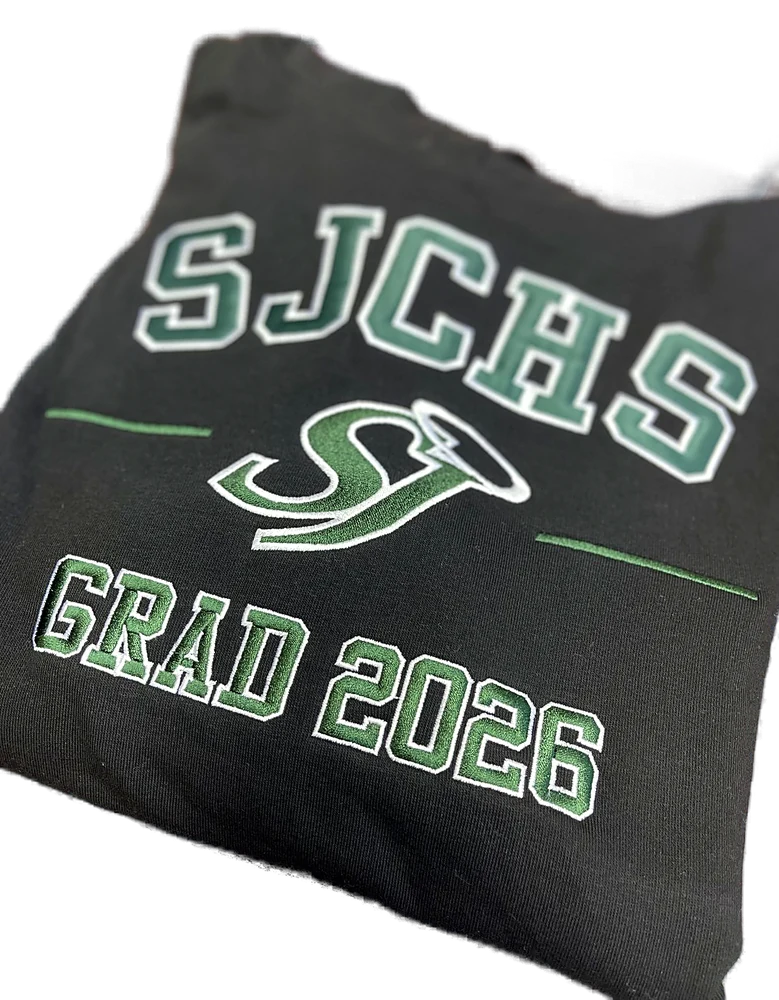
Team hoodies, custom jerseys and warm-up gear give a team a shared identity, but a team order involves a lot of people, money and spelling. Most problems come from a handful of predictable spots. This custom teamwear ordering checklist walks through each one so your order arrives right.
Choose one order coordinator
Pick one person to collect information, answer questions and talk with us. When several parents or players send details separately, things get missed or doubled. The coordinator does not need to do everything alone, but all final information should pass through them.
Select garments before collecting sizes
Sizing differs between brands and styles. Choose the exact hoodie, tee or jersey first, then share that garment's size chart so everyone sizes against the right product. If samples are available, a size run at practice saves a lot of exchanges later.
Youth and adult sizing
Many teams need both youth and adult sizes. Youth and adult ranges come from different size charts, and not every style is offered in both. Confirm early that your chosen garment comes in every size the team needs, in the same colour. Younger players may grow during the season, so families may want to size up.
Confirm names, numbers and spelling
Names and numbers are the most common source of errors on team orders. Collect them in a spreadsheet with one row per player, including size, name exactly as it should appear, and number. Ask each family to check their own row before you send the list. Decide on capitals, nicknames and accents ahead of time.
Artwork, sponsor logos and approval
Gather your team logo and any sponsor logos as high quality files. Confirm with sponsors how and where their logo should appear. Then decide who approves the final artwork proof. Once a proof is approved, production follows that proof, so the approver should check spelling, colours, sizes and placement carefully.
Work backward from the needed-by date
Start with the date you need the gear, such as the first game or a tournament, and work backward. Allow time for collecting sizes, building the quote, approving artwork, collecting payment, production and distribution. Ask us about timing when you request your quote instead of assuming a turnaround, since it depends on the products, decoration and time of year.
Written quote approval, payment and distribution
Get the final quote in writing and have the coordinator approve it. Decide how payment is collected from families or covered by the team or sponsors, and who is paying us. Plan distribution too: bag items by player, keep a sign-off list, and have a plan for anyone who cannot make pickup.
Save details for next season
After the order, save the garment styles, colours, artwork files, placement notes and roster in one folder. Next season you can add new players and reorder matching gear without starting over. Returning teams can use the reorder page.
The teamwear ordering checklist
- Name one order coordinator
- Choose the exact garments and colours
- Confirm youth and adult sizes are available in that style and colour
- Share size charts and collect sizes in one spreadsheet
- Collect names and numbers, then have each family check their row
- Gather team and sponsor logo files
- Agree who approves the artwork proof
- Set your needed-by date and ask about timing
- Approve the written quote and arrange payment
- Plan bagging, pickup and sign-off
- Save every detail for next season
Not sure which decoration suits your gear? Read embroidery vs. screen printing, then request a quote with your roster and garment choices.